Painting kitchen cabinets seems straightforward—until you notice brush marks, thick paint edges, or paint buildup along seams where the doors meet the frame. DIYers often struggle to get that factory-smooth, professional finish, leading to frustration and costly mistakes.
If you’re planning to paint your cabinets, avoiding visible seams and paint buildup is crucial. The good news? With the right approach, you can achieve a stunning, long-lasting result.
This guide will walk you through everything you need to know, from choosing the right materials to professional techniques that prevent paint buildup and uneven edges.
Why Cabinet Painting Is Tricky for DIYers
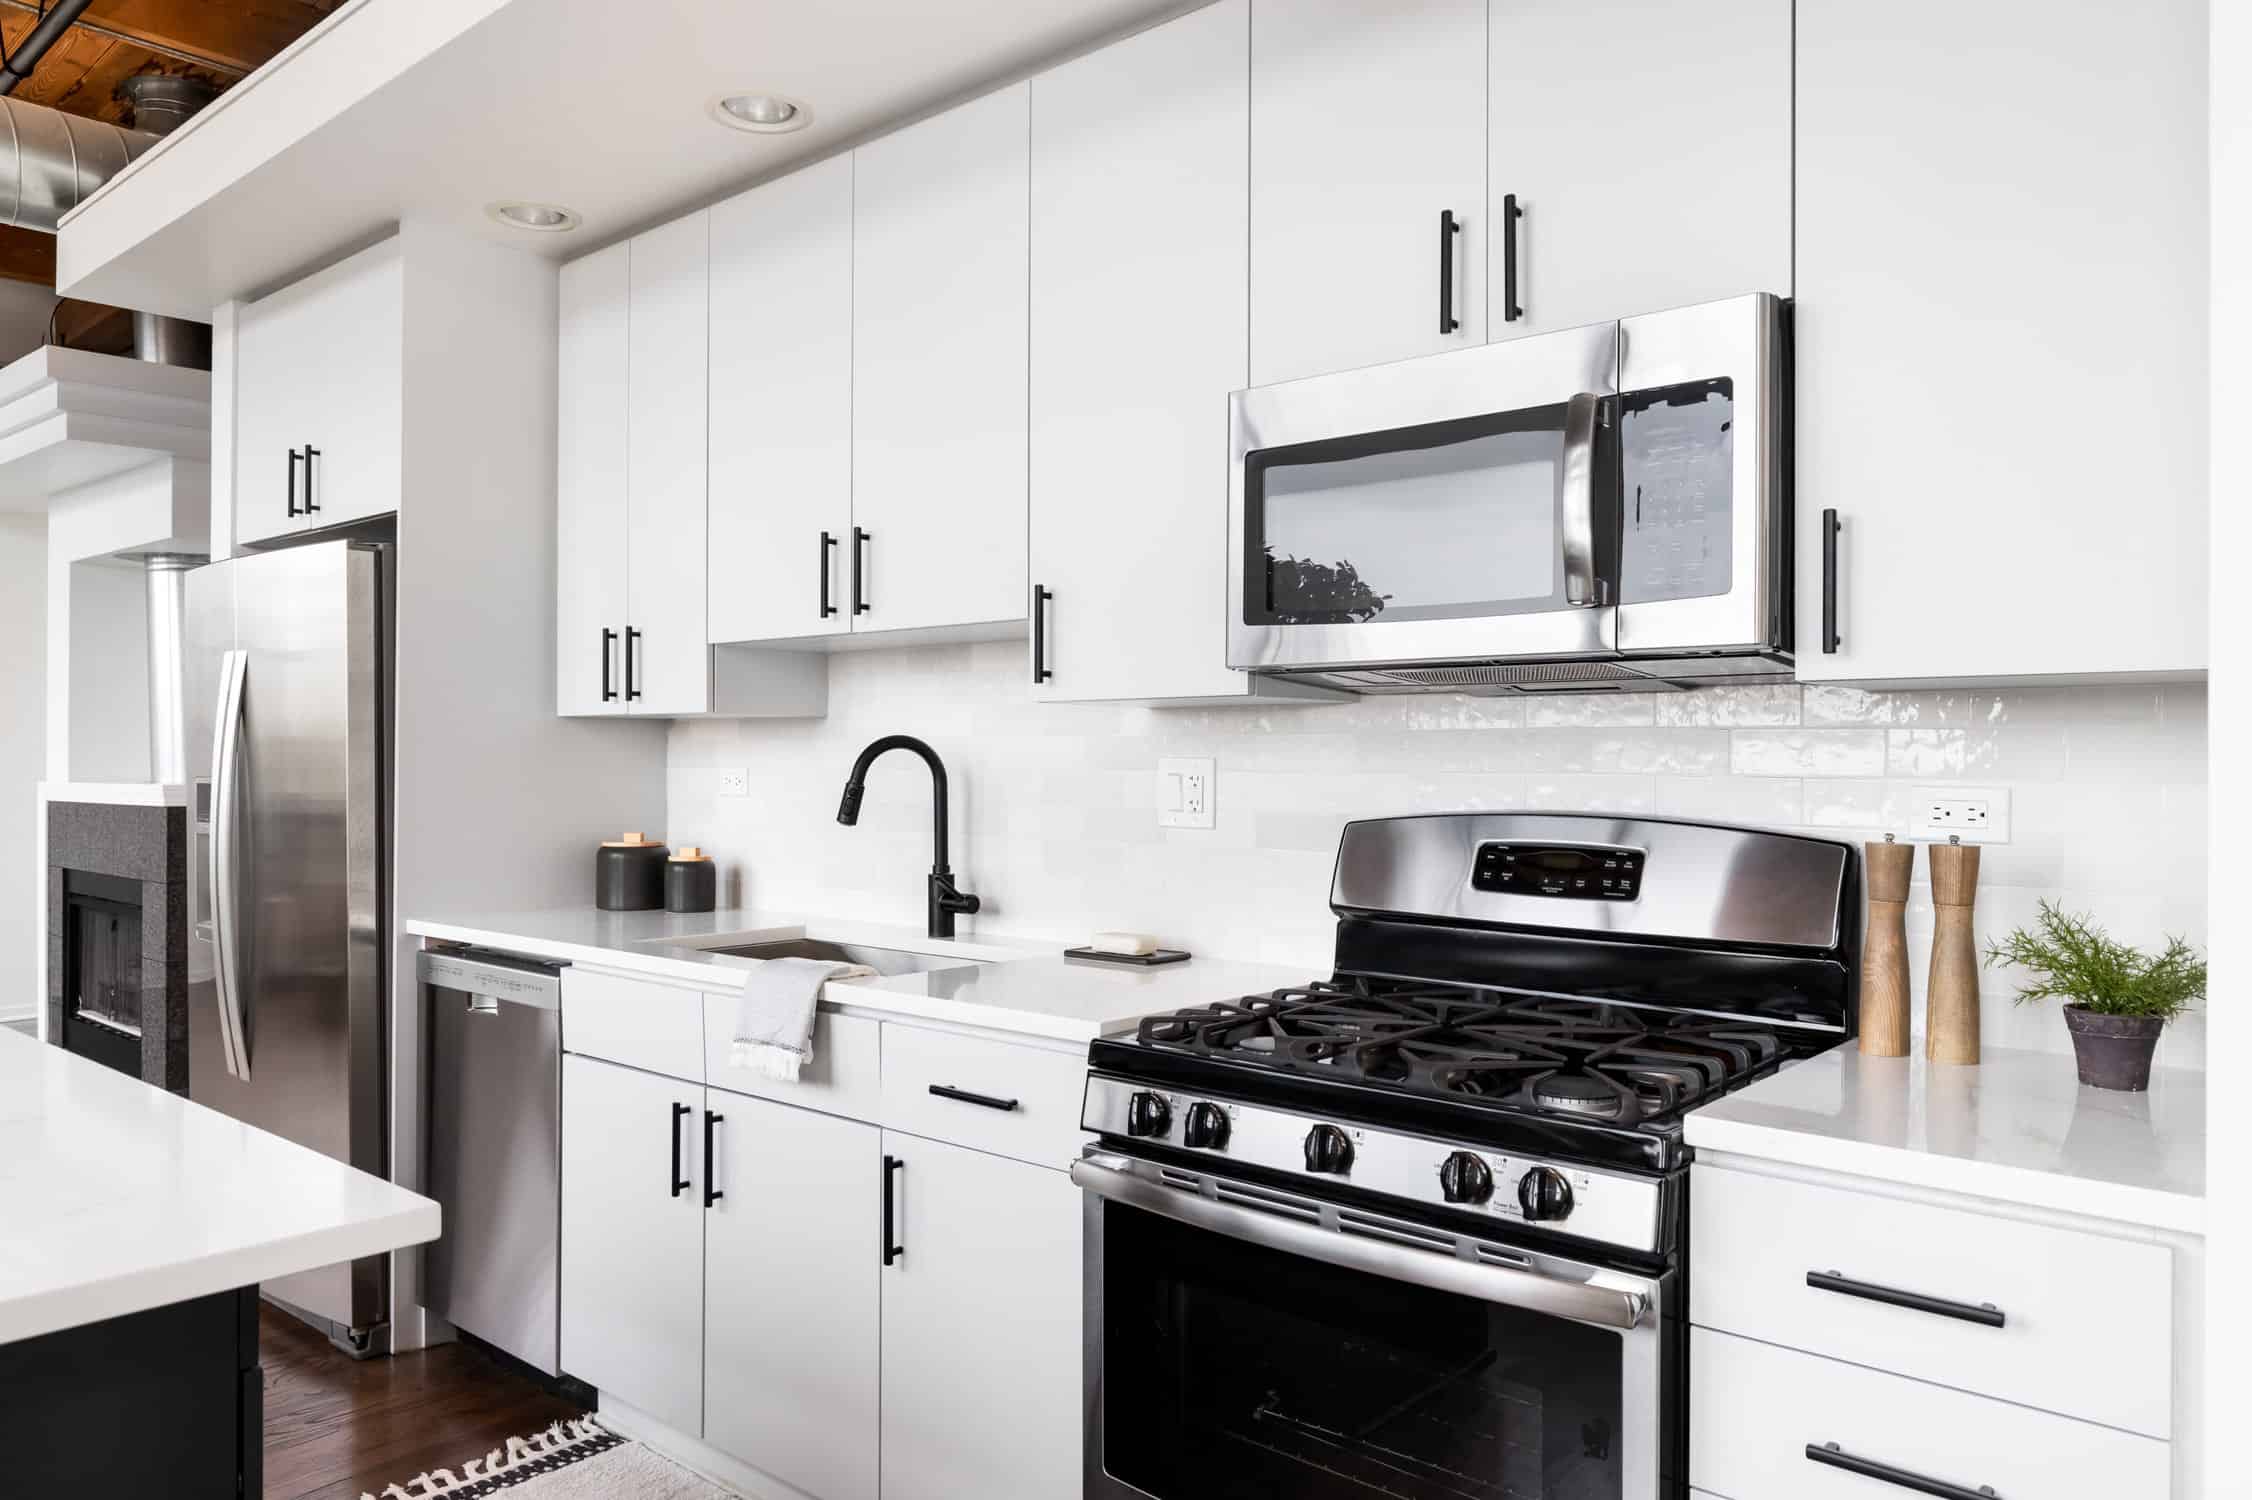
A loft kitchen with white cabinets, exposed wood ceiling, and stainless steel appliances.
Cabinets are different from walls. Their smooth surfaces and high-touch areas require careful prep and the right materials. If you cut corners or rush the job, you’ll likely see:
- Peeling or chipping paint – Often caused by improper prep or using the wrong primer.
- Visible seams or thick edges – Happens when too much paint builds up along corners and joints.
- Brush marks or roller texture – Common when using the wrong tools or applying thick coats.
- Uneven coverage – Skipping sanding or failing to use enough thin layers of paint.
Fixing these mistakes later can be frustrating and time-consuming. But don’t worry—we’ll walk you through how to avoid them in the first place.
Choosing the Right Materials
Cabinet painting starts long before the first brushstroke—it begins with selecting the right materials. Cabinets come in a variety of materials, and each one interacts differently with paint, primer, and preparation techniques. If you skip this crucial step, you could end up with poor adhesion, peeling paint, or excessive paint buildup along seams and edges.
Let’s break down how to properly prepare and paint different cabinet materials to ensure a smooth, durable finish.
Cabinet Materials and How They Affect Paint Application
Not all cabinets are created equal, and the material directly impacts how well paint adheres and levels. Understanding what you’re working with is the first step in preventing common DIY mistakes like peeling, streaks, and—most importantly—paint buildup in corners and edges.
Solid Wood (Oak, Maple, Cherry, etc.)
Best Practices:
- Wood has a natural grain that raises when exposed to moisture, so proper sanding is a must.
- If the wood has knots or heavy grain, use a stain-blocking primer to prevent discoloration from seeping through the paint.
- Avoid applying thick layers of paint, which can collect in the wood’s natural texture and create visible ridges.
Common Mistakes:
- Skipping sanding, leading to rough patches or raised grain.
- Using the wrong primer, which can cause tannin bleed-through.
- Overloading the brush with paint, leading to thick edges along seams.
MDF (Medium-Density Fiberboard)
Best Practices:
- MDF soaks up moisture like a sponge, so it’s crucial to seal it with a high-quality primer before painting.
- A shellac-based primer is the best option for preventing swelling and creating a smooth base.
- Use light, even coats of paint to avoid oversaturation and paint buildup along edges.
Common Mistakes:
- Using a water-based primer alone, which can cause the MDF to swell and become uneven.
- Not sealing cut edges, leading to rough textures that don’t hold paint well.
- Applying too much paint at once, leading to visible drips and thick paint ridges.
Laminate Cabinets
Best Practices:
- Since laminate is slick and non-porous, sanding lightly is crucial to help the primer grip the surface.
- A high-adhesion bonding primer is a must—this ensures the paint actually sticks.
- Spray application works best for a seamless finish, preventing brush marks and paint buildup along the edges.
Common Mistakes:
- Skipping sanding, which prevents the primer from bonding properly.
- Using a regular primer instead of a bonding primer, causing the paint to peel.
- Applying too much paint too quickly, leading to thick, uneven layers that dry with ridges.
Best Primers to Prevent Paint Buildup and Ensure Smooth Coverage
Using the wrong primer is one of the biggest reasons DIYers struggle with poor adhesion and visible paint buildup. The right primer seals the surface, smooths out imperfections, and improves paint grip—all while preventing issues like peeling and streaking.
Here are the best primers for different cabinet materials:
- Bonding Primer – Designed for slick surfaces like laminate and previously painted cabinets. Helps prevent peeling and chipping.
- Stain-Blocking Primer – Essential for wood cabinets with knots or heavy grain to prevent stains from bleeding through.
- Shellac-Based Primer – The strongest adhesion option, great for MDF and high-gloss finishes. Also blocks tannins from bleeding through paint.
Pro Tip: Always sand lightly between primer coats to remove imperfections and avoid buildup along corners. A smooth primer base leads to a smooth final finish.
Choosing the Right Paint for a Seamless, Professional Finish
Just like primer, not all paints are created equal. The wrong paint can lead to sticky cabinets that never fully cure, peeling paint within weeks, visible brush strokes, roller marks, and paint buildup along edges and seams. These issues not only affect the cabinet’s appearance but also compromise durability. To avoid them, it’s essential to choose a paint specifically formulated for cabinets—one that provides smooth coverage, resists wear, and cures to a hard, durable finish.
Types of Paint for Cabinets:
- Acrylic (Latex) Paint – Durable, low-VOC, and easy to clean. Requires a strong primer for proper adhesion.
- Oil-Based (Alkyd) Paint – Dries to a hard, durable finish with excellent self-leveling, but has strong fumes and longer drying times.
- Hybrid Urethane Alkyd Paint – A game-changer for DIYers—combines the smooth finish of oil-based paint with the easy cleanup of latex. Levels beautifully to prevent brush strokes and roller texture.
What’s the Best Sheen for Cabinets?
Satin or semi-gloss finishes are ideal for cabinets because they provide durability without excessive shine. They are also easy to clean, which is essential for kitchen cabinets that see frequent use. Additionally, these finishes resist moisture and grease stains, helping to maintain a fresh appearance over time. Choosing the right sheen can also minimize paint buildup, ensuring a smooth and even finish.
Common DIY Mistakes When Choosing Paint
One of the most common DIY mistakes when painting cabinets is using regular wall paint instead of cabinet-grade enamel, which results in poor durability and chipping. Another mistake is choosing a flat or matte finish, which absorbs dirt and is difficult to clean, making cabinets look worn out quickly.
Additionally, many DIYers rush the process and don’t allow for the proper cure time, leading to sticky surfaces that easily dent and scratch. These errors, along with improper application, can contribute to paint buildup, making the finish uneven and unprofessional.
Preventing Visible Seams and Paint Buildup
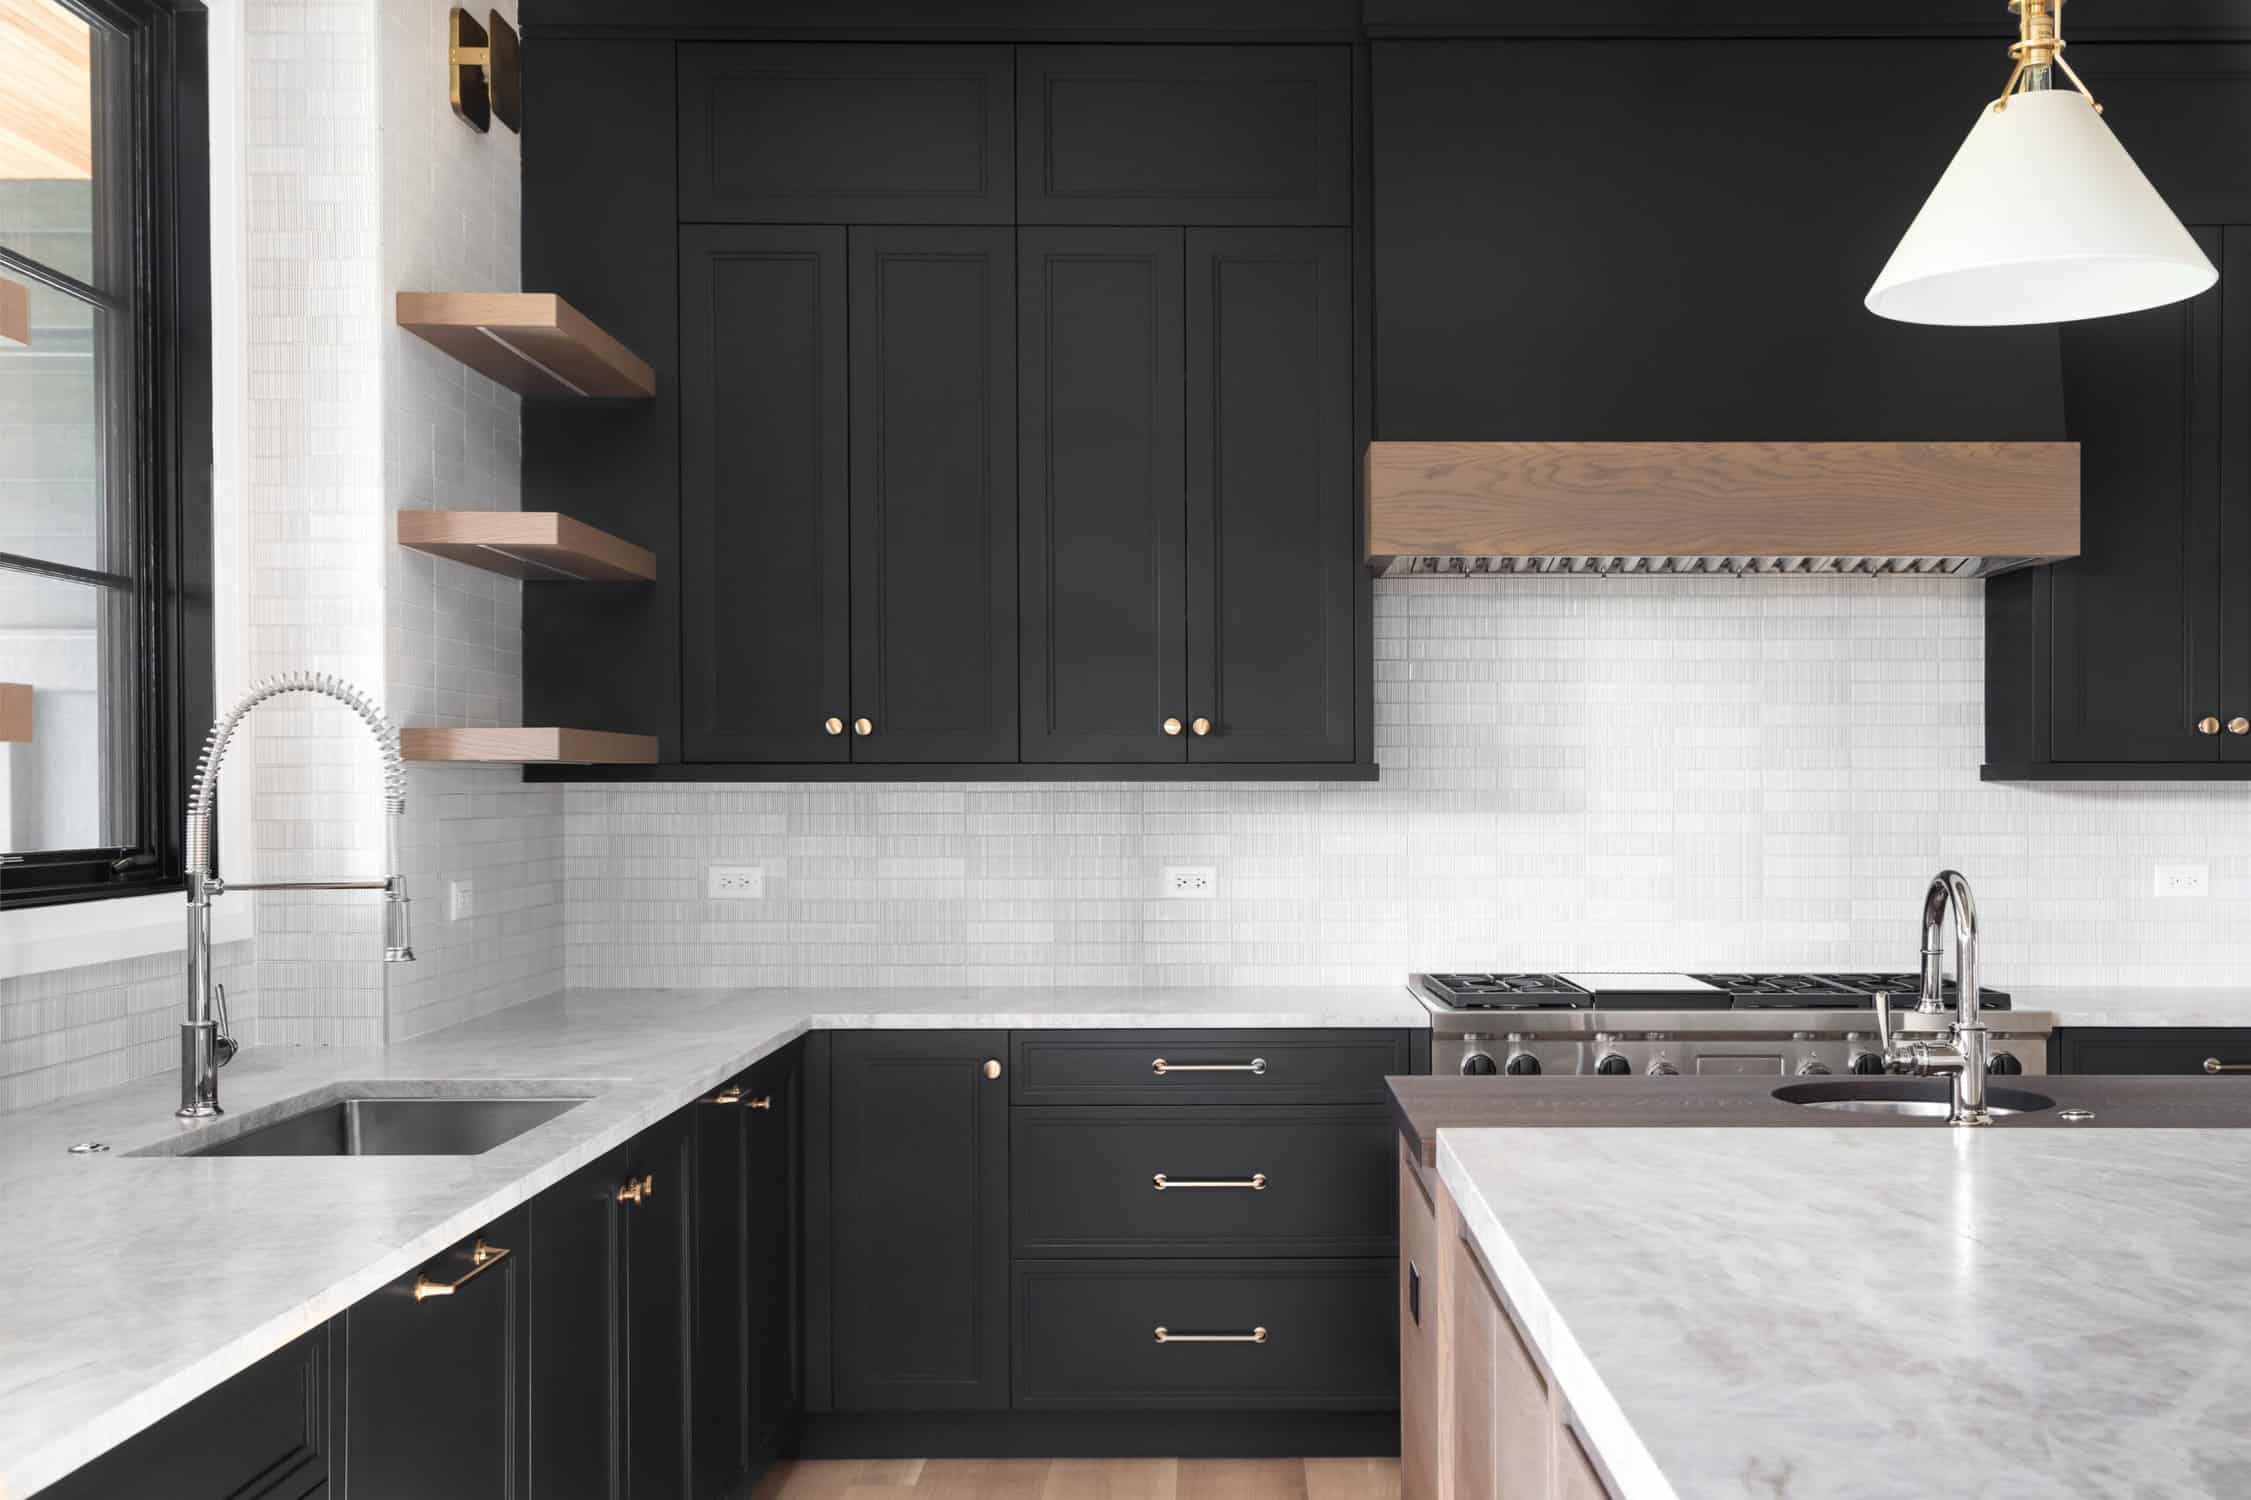
A luxury kitchen with black cabinets, granite counter top, tiled backsplash, stainless steel appliances, and chrome faucets.
1. Prep Work is Everything
Skipping prep is the fastest way to a failed paint job. Before you even open a can of paint, take these steps:
- Remove all hardware – Take off doors, drawers, and handles for easier access.
- Clean thoroughly – Degrease with a TSP substitute to remove grime and oils.
- Sand lightly – Use 120-150 grit sandpaper to scuff the surface. This helps paint grip better.
- Use a tack cloth – Wipe away dust to prevent debris from getting into the paint.
2. Apply Primer the Right Way
Even application is key to preventing buildup. Follow these techniques:
- Use a high-quality synthetic brush or sprayer – Rollers can leave texture.
- Apply in thin, even coats – Two thin coats are better than one thick one.
- Sand between coats – Lightly scuff with fine-grit sandpaper (220 grit) to maintain smoothness.
3. Mastering the Painting Technique
This is where many DIYers struggle. Use these tips to avoid excess paint around edges and seams:
- Feather the edges – Don’t let paint collect in corners. Use light strokes and keep edges thin.
- Work in sections – Start with the back of cabinet doors, then move to the front.
- Spray for a factory finish – If using a sprayer, keep the nozzle moving for even application.
- Avoid thick coats – The key to a seamless look is multiple light coats, allowing drying time in between.
4. Drying and Curing Properly
Paint needs time to settle and bond. If you rush this step, you risk peeling and tackiness.
- Follow drying times – Let each coat dry according to the manufacturer’s instructions.
- Allow proper curing – It takes about 7-14 days for paint to fully harden. Avoid heavy use until then.
Common DIY Mistakes That Lead to Paint Buildup and Seams
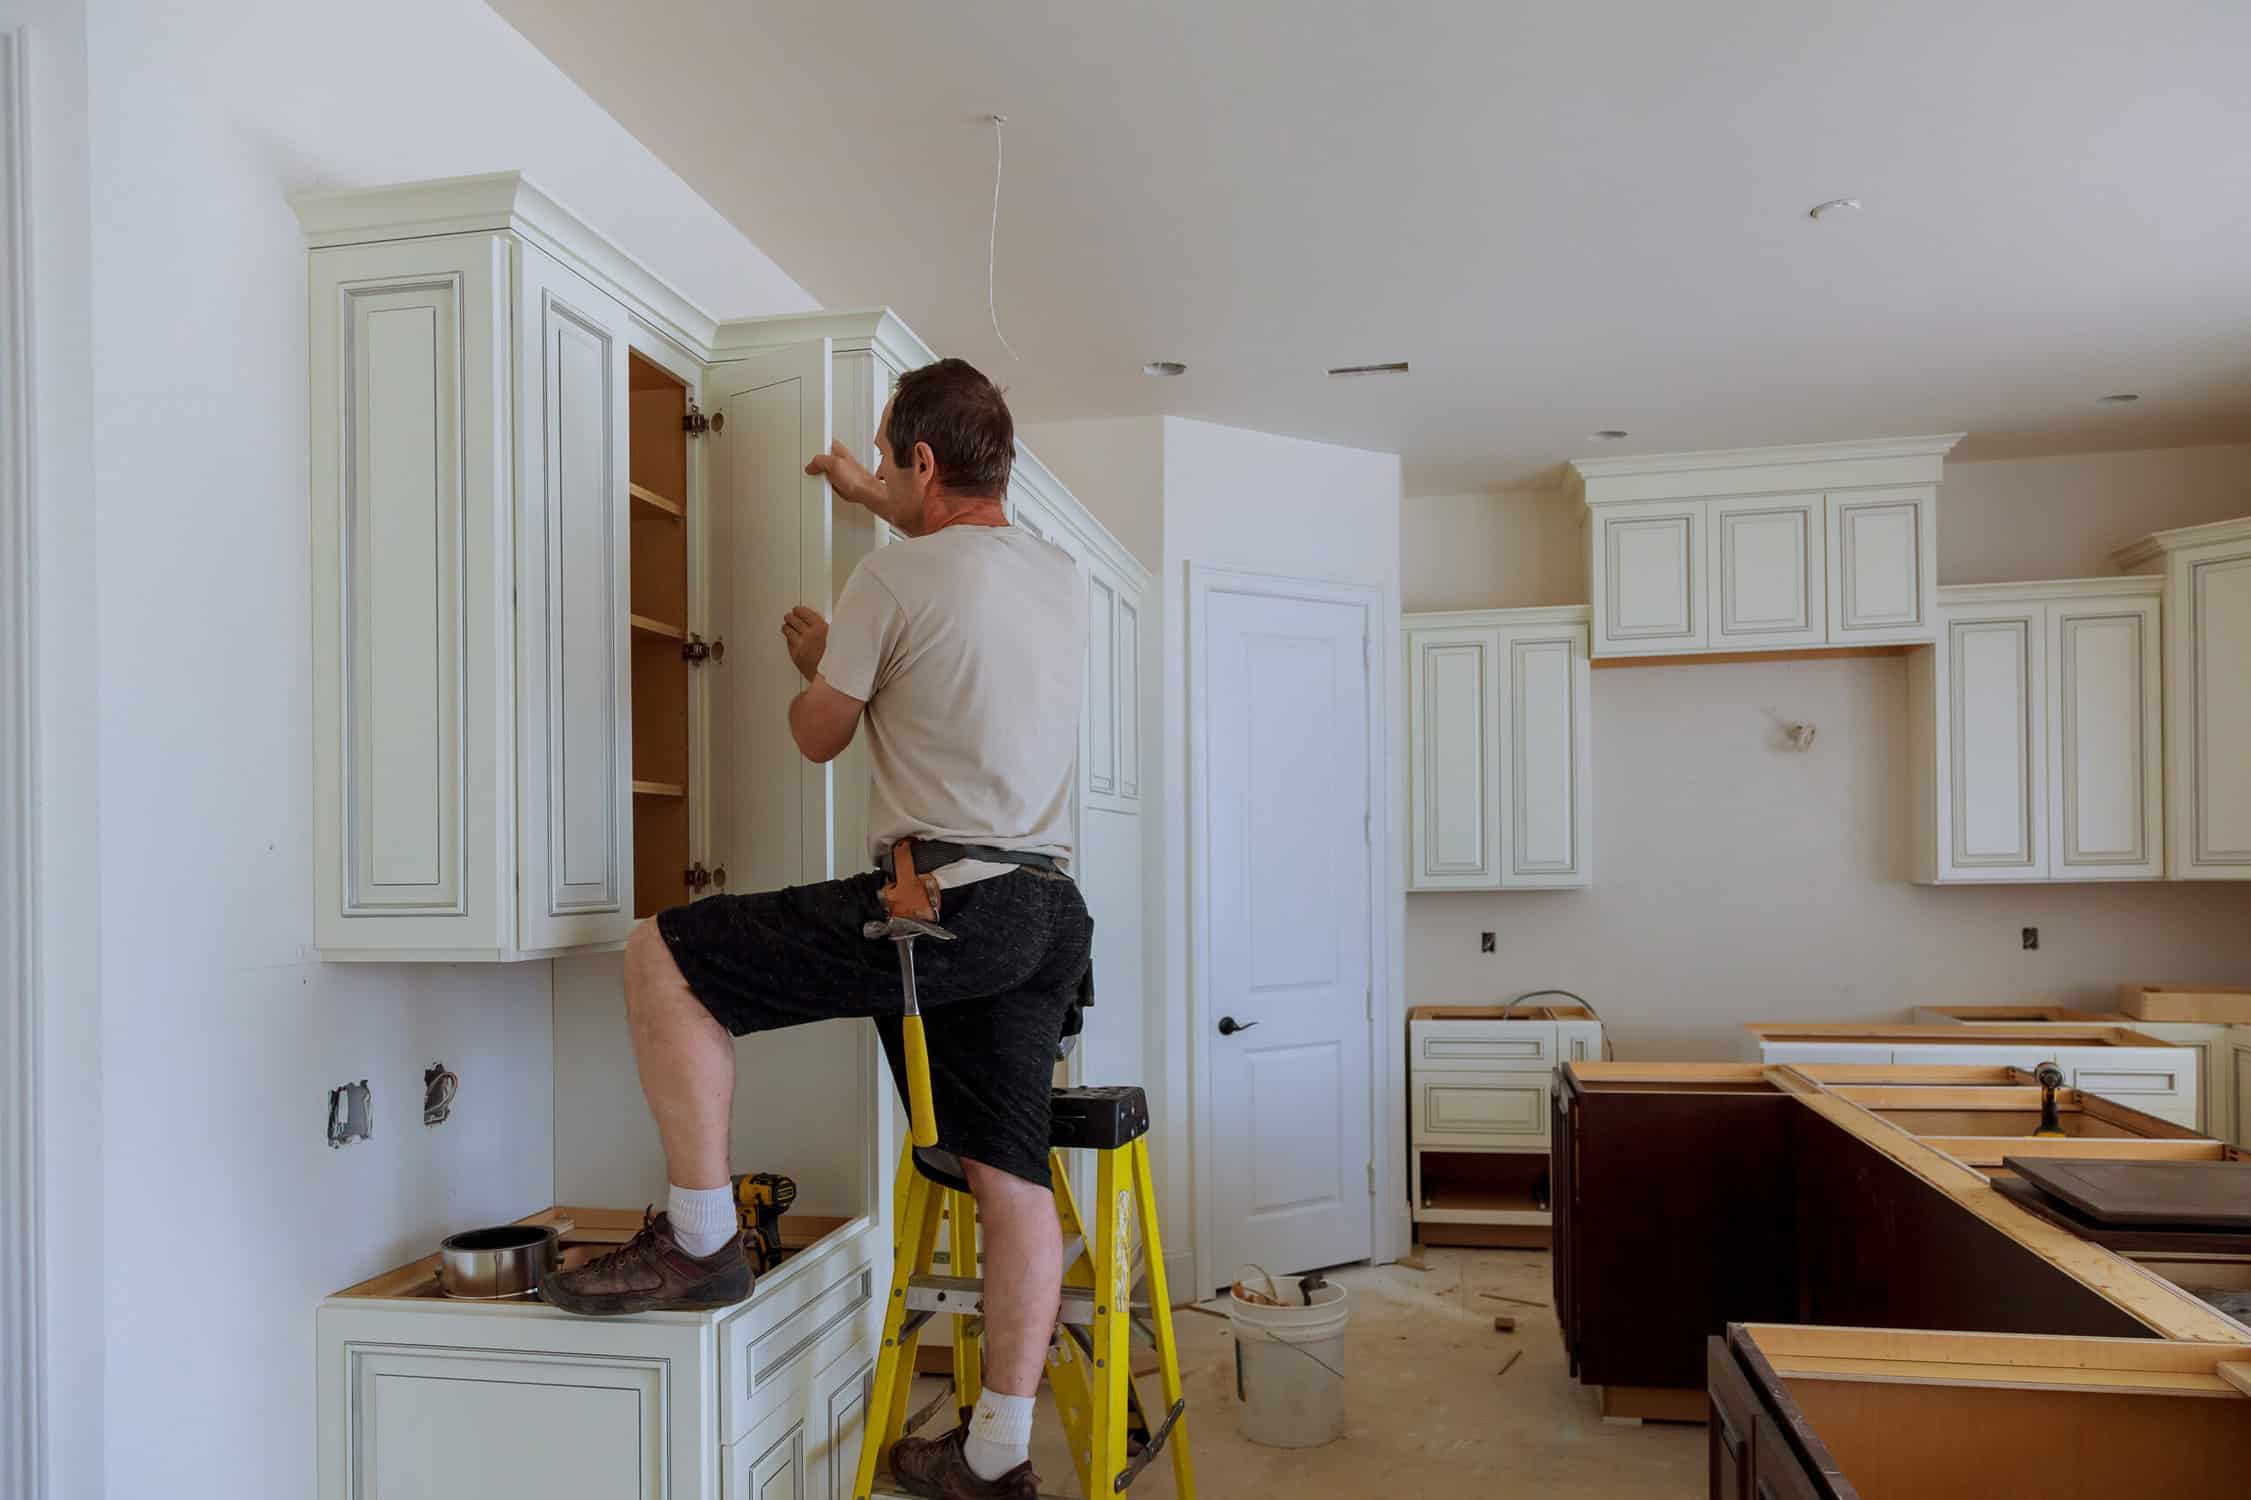
Man installing kitchen cabinets door installation of kitchen
Even with careful prep, paint buildup can still occur, especially around edges and seams. Here’s what often goes wrong and how to prevent it:
- Skipping sanding – Glossy surfaces prevent paint from adhering smoothly. Always scuff-sand before priming to create a solid bond.
- Overloading the brush – Thick, heavy applications lead to paint buildup along edges. Use less paint and apply thin, even coats.
- Not using a primer – Without a strong bonding primer, paint can peel, settle unevenly, or soak into the surface, causing an inconsistent finish.
- Not feathering edges – Failing to blend strokes results in thick ridges and visible paint buildup. Always use light, controlled strokes to smooth out excess paint.
- Rushing the drying process – Applying new coats before the previous layer is fully dry traps moisture, leading to tacky, uneven surfaces and excessive paint buildup.
If you notice paint buildup or rough seams, don’t panic. Most issues can be fixed by carefully sanding down problem areas and reapplying thin, even layers of paint. Taking your time and using the right techniques ensures a seamless, professional-looking finish that lasts.
When It’s Time to Call a Professional
While DIY can be rewarding, some situations call for expert help. If you’re dealing with any of the following, hiring a pro might be your best bet:
- You want a flawless, factory-like finish.
- Your cabinets have previous paint failures.
- You have intricate, high-end, or antique cabinetry.
- You don’t have the time or patience for a multi-day project.
A professional painter has the tools and expertise to avoid common DIY mistakes, ensuring a finish that lasts for years. If you’re ready to talk to one, contact us to get your free estimate.
Final Thoughts: The Secret to a Professional-Looking Cabinet Paint Job
Avoiding visible seams and paint buildup is all about patience, preparation, and technique. By choosing the right products, applying thin layers, and allowing proper drying time, you can transform your cabinets into a stunning focal point of your kitchen.
If you’re feeling unsure or want to guarantee a perfect result, don’t hesitate to consult a professional. A beautifully painted cabinet set isn’t just about aesthetics—it’s an investment in your home’s longevity and value.


")